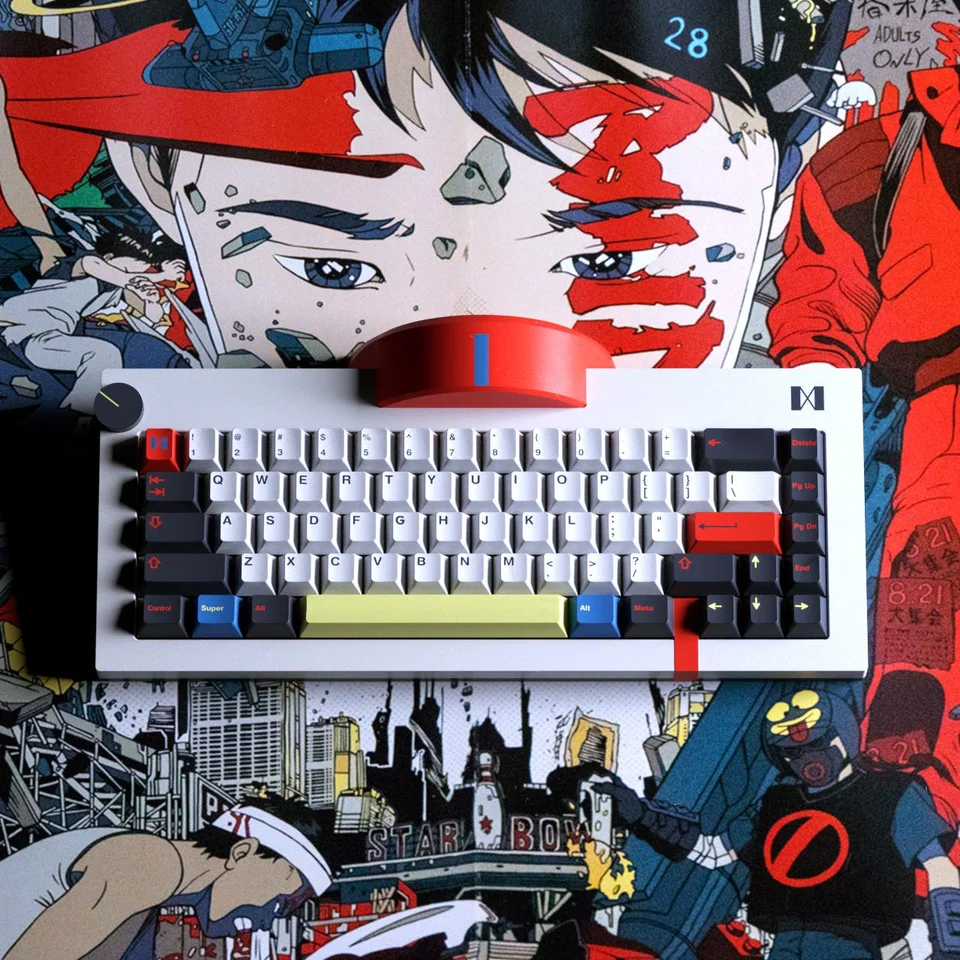
You guys probably have heard about keyboard, no not the one that produces music, but the one that you use to type on your computer screen, and do you know that there are a group of people that willing to spend and take their time to buy, build, and customize their own keyboard up to their liking.
Let me introduce you to the world of custom mechanical keyboard, you probably heard the word mechanical keyboard and its usually relates to those gamer and very loud and clicky keyboard.
This niche hobby started and documented on Geekhack.com, a place where people with keyboards and similar interest on keyboard gather and discuss and continue to grow bigger and bigger until today with lots of layout, colorful keycaps and keyboard with various age and variants, availability and many different custom mechanical keyboard forum appear in the wild such as Reddit thread, Facebook groups and Discord Communities.
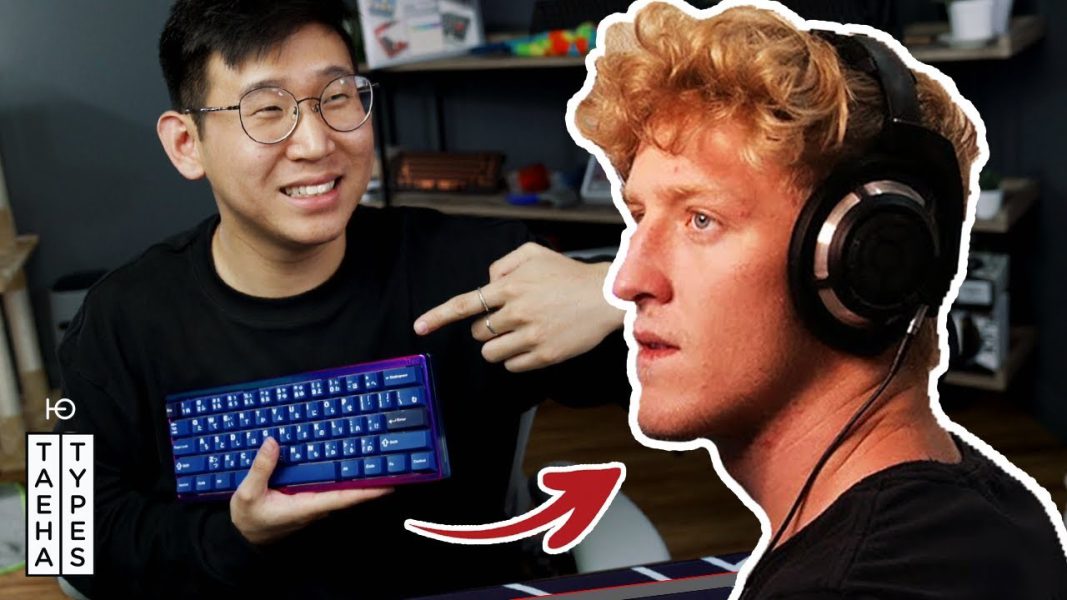
This niche hobby of building a keyboard took a blast back when Nathan “ Taeha-types” Kim built a keyboard for a professional Fortnite player name Tfue, that cost a whopping 3500 USD which translates roughly to around 55 Million IDR today and gather around 8 Million views on his youtube channel, and after that video released, COVID-19 happens and all people were forced to work from home, and people still doesn’t know when will this pandemic going to end, so many people decide to revamp their work setup to make it as comfortable as they want, and some of them were fallen into this niche hobby and one of the discussion forum on reddit that commonly known as r/mk or r/Mechanical Keyboards, as for today the forum got 1.1 Million members with top 1% ranking on the entire reddit community.

After the whole brief history of the hobby, let’s get into what you need and how to make a custom keyboard for yourself. There are 6 main components that were required to make a keyboard.
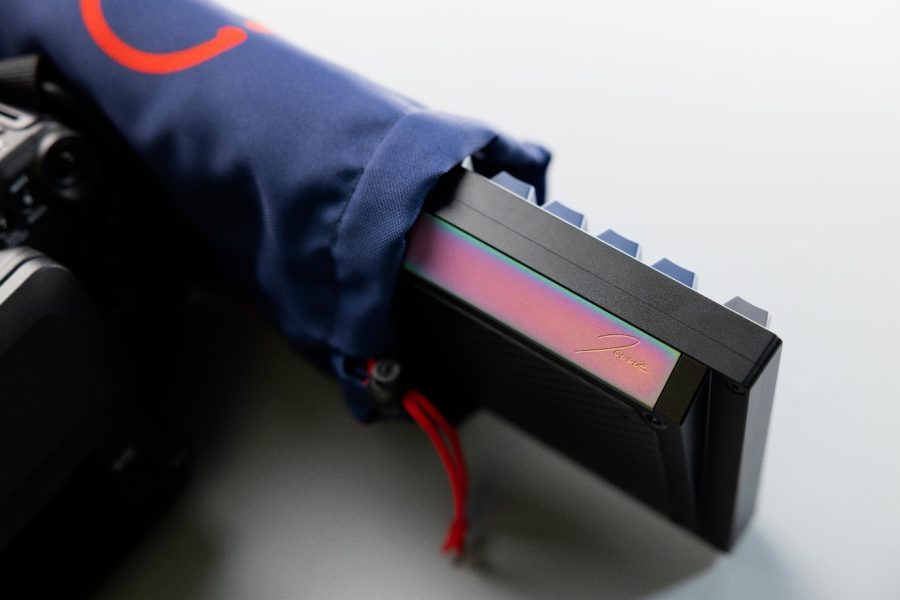
Case: It’s the shell to keep your keyboard together, you usually come by a case that were made out of wood, plastic and aluminium, Printed Circuit Board or PCB: This is the heart of the keyboards, where you put all your components together, the feature on a keyboards were determine by the PCB you use, maybe your PCB supports Bluetooth connectivity or your PCB got the RGB lighting and other stuff.
Plate: a plate functions as an alignment tool so your switches sit straight right on top of your PCB, plate material can be found in a plastic, brass, carbon fibre, and aluminium.
Switches: this is the part that makes every keys you press register a keystroke, switches comes in many colour and many flavours, the most commonly seen were Blue for clicky and tactile feeling on your switches, Red for linear type of switches without any feedback on the feel, and Browns for the soft tactile feedback every time you press on the switches.
Stabilizers or “stabs”: Stabs were used to help support the longer keys such as spacebar, enter, backspace and shift, this comes in various different sizes such as 2u that commonly used on shift, enter and backspace, and there is 7u and 6.25u that used on the spacebar.
Keycaps: the keys with letters and symbols on it with different colours and different shapes.

You might be wondering, why do I need to go through this many process just to build a keyboard, meanwhile I can buy a Logitech keyboard of from computer store for less money.
Building or buying a custom keyboard really is a big game changer, you can choose the size of the keyboard, if you need numpad and function rows, you can go with something bigger, but if you don’t need those, you can go with something with a small form factor, or do you have a specific typing method, you can go with something more ergonomic, are you a loud typist or a silent typist, do you want it to be very heavy or portable, you can customize everything from the outside to the inside of the keyboard and from the sound to the feel of the keyboard.
Writer: Ricky Hansel
Student College of Mass Communication of Binus University


